
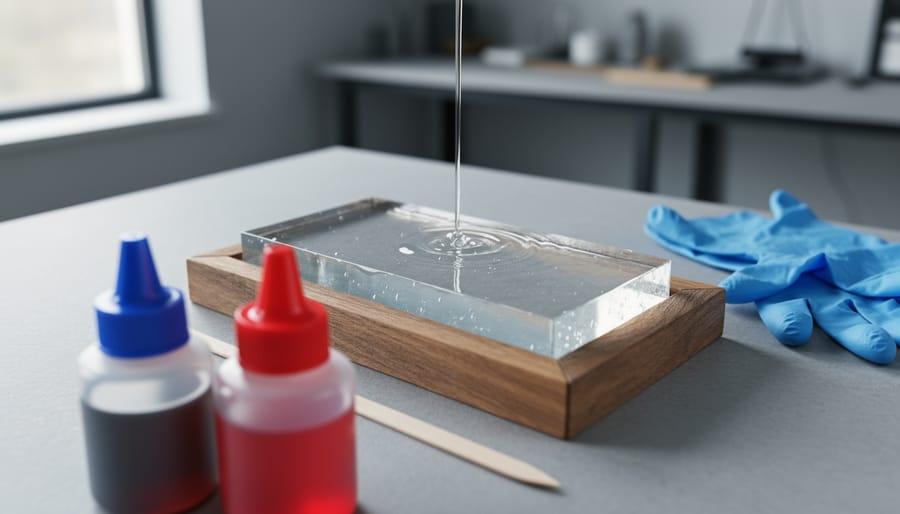
Epoxy resin is a two-part liquid polymer that hardens into a transparent, durable solid when a resin and hardener are mixed together, triggering a chemical reaction called curing. This transformation from liquid to solid happens because the molecules in each component cross-link, creating an incredibly strong bond that can seal, coat, cast, or adhere almost any material.
If you’ve ever wondered why your epoxy project either turned out beautifully glossy or frustratingly sticky, the answer lies in understanding this chemical process. The magic isn’t really magic at all. It’s precise chemistry that you can control once you grasp the fundamentals.
When you first encounter epoxy resin, the instructions might seem simple: mix part A with part B, pour, wait. But knowing what’s actually happening at the molecular level changes everything about how you approach your projects. You’ll understand why temperature matters, why rushing the cure time leads to soft spots, and why exact measuring isn’t just a suggestion but the difference between success and a tacky mess.
This article breaks down the science behind epoxy resin in plain language, walking you through the chemical reaction that makes it work, the different types available for various applications, and how this knowledge translates into better results in your creative projects. Whether you’re considering your first resin pour or you’ve had mysterious failures you can’t explain, understanding the mechanism gives you confidence and control.
Many crafters discover that epoxy workshop learning accelerates their skills faster than trial and error alone, combining hands-on practice with expert guidance that demystifies the process. You’ll leave this read equipped to tackle resin work with the knowledge that transforms beginners into capable creators.
What Epoxy Resin Really Is
Epoxy resin is a two-part liquid system that transforms into a solid, glass-like material through a chemical reaction. When you purchase epoxy, you’ll receive two separate bottles: the resin itself and a hardener. Neither component can create that beautiful, durable finish on its own. They’re like dance partners, each one needs the other to perform.
The resin is typically a thick, clear liquid that looks a bit like honey. On its own, it would stay liquid forever. The hardener, meanwhile, acts as the catalyst that triggers the transformation. When you combine these two components in the correct ratio and mix them thoroughly, they begin a chemical process that converts the runny liquid into a hard, protective coating.
Understanding a few core terms will help you work confidently with epoxy:
- Resin
- The base liquid component that provides the bulk of the material and gives epoxy its clarity and flow characteristics.
- Hardener
- The catalyst component that triggers the chemical reaction, causing the resin to cure and harden into its final solid form.
- Curing
- The chemical process during which the mixed epoxy transitions from liquid to solid, generating heat as the molecules bond together permanently.
- Pot life
- The working time you have after mixing before the epoxy becomes too thick to pour or spread, typically ranging from 20 minutes to several hours depending on the formula.
This two-part system gives you control over when the hardening happens. Unlike glue that dries through evaporation, epoxy undergoes a true chemical transformation. The molecules in the resin and hardener link together in long chains, creating a structure that’s incredibly strong and moisture-resistant. That’s why cured epoxy can withstand daily wear, hold up in humid environments, and maintain its glossy finish for years. You’re not just letting something dry, you’re creating an entirely new material.
How Epoxy Resin Works: The Science Made Simple
The Mixing Stage
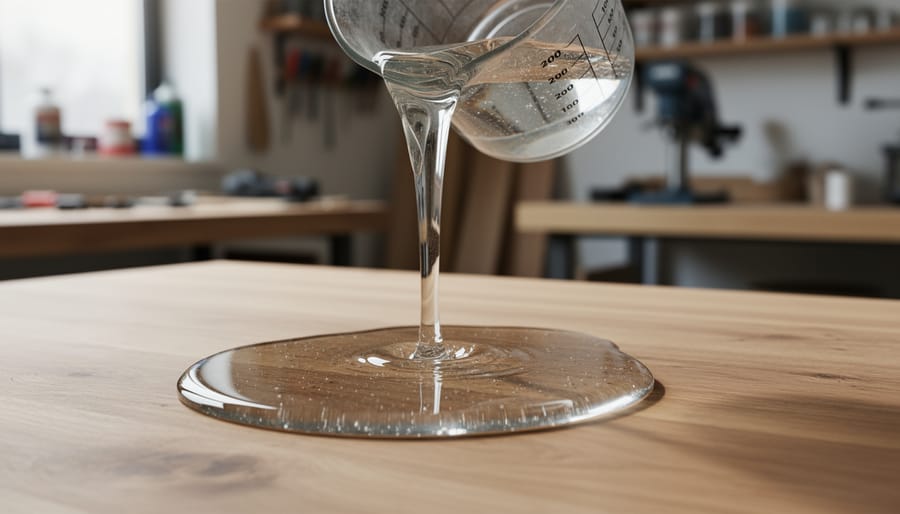
When you pour resin and hardener together, you’re triggering a chemical transformation. The two liquids look similar but perform opposite roles: the resin contains epoxide molecules waiting to bond, while the hardener contains the catalyst that unlocks those bonds. The moment they meet and you begin stirring, a molecular chain reaction starts linking the components together.
Getting the ratio right isn’t just a suggestion, it’s chemistry. Most epoxy resins require a specific mix, often 1:1 or 2:1 by volume. Too much hardener and the mixture cures too quickly or becomes brittle. Too little and you’ll have sticky, partially-cured spots that never fully harden. Weighing your components on a digital scale removes guesswork and ensures consistency across projects.
As you mix, you’ll notice the combined liquid warming in your cup. This heat, called an exothermic reaction, is the chemical bonds forming and releasing energy. It’s normal, but it means your working time has started ticking. In a workshop setting, instructors emphasize thorough mixing for at least three minutes, scraping the sides and bottom, because unmixed pockets lead to soft spots in your finished piece.
From Liquid to Solid: The Curing Journey
Once you’ve mixed your epoxy, the material begins a predictable transformation that every crafter needs to understand. The curing journey happens in three distinct stages, each with its own window of opportunity for different techniques.
Working time comes first. This is your active crafting window, usually ranging from 20 to 45 minutes depending on your resin type and room temperature. During this stage, the mixture stays fluid enough to pour, spread, and manipulate. You can add colorants, embed objects, or create swirls. Workshop students often discover that warmer rooms shorten this window, while cooler spaces extend it.
Next comes gel time, when the resin thickens to a honey-like consistency. You’ll notice it no longer flows freely. This stage is perfect for creating textured effects or building up vertical surfaces without drips. In jewelry workshops, crafters use gel time to dome cabochons or layer resin without the layers bleeding together. Touch the surface lightly and it will feel tacky but won’t transfer to your finger.
The final stage is full cure, when the resin reaches its maximum hardness and durability. Most resins need 24 hours to become dry to the touch, but full chemical cure takes 72 hours. During a weekend workshop, students often pour projects on Saturday and return Sunday to demold them, then take them home to finish curing. Rushing this stage risks a softer, less durable finish than the glass-hard surface epoxy is known for.
Different Types of Epoxy Resin for Crafters
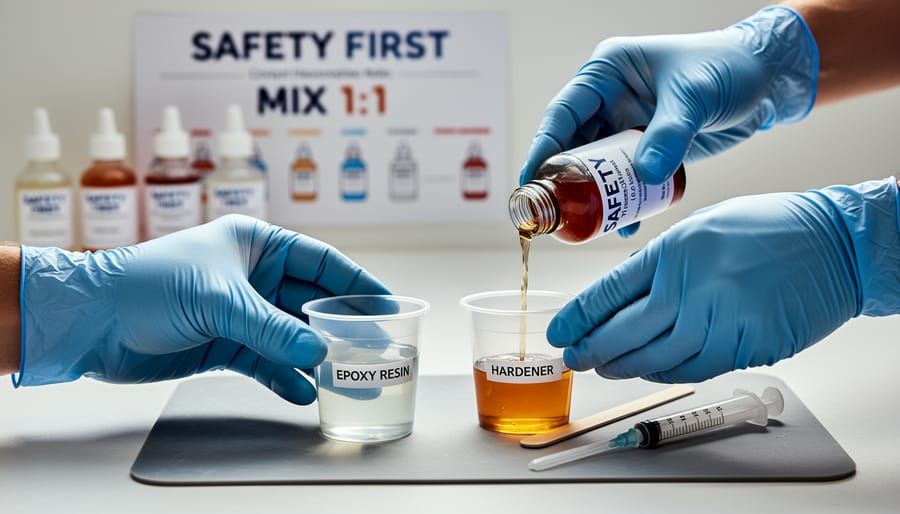
When you walk into your first epoxy resin workshop, you’ll quickly discover that not all epoxy resins are created equal. The type you choose directly affects how the material behaves during curing and what you can successfully create with it. Understanding these differences helps you pick the right resin for your project rather than fighting against the wrong one.
Casting Resin: For Depth and Detail
Casting resin is designed to be poured in thicker layers, typically up to two inches at a time. It cures more slowly than other types, which gives the heat from the exothermic reaction time to dissipate gradually. This slower cure prevents cracking and yellowing that can happen when too much heat builds up in a thick pour.
You’ll use casting resin for dimensional projects like jewelry pendants, keychains, paperweights, and small figurines embedded with dried flowers or glitter. Workshop students love it for projects where they want to preserve objects in clear resin or create colorful layered effects. The slower working time, often 30 to 45 minutes, gives beginners breathing room to position inclusions carefully and pop any bubbles that form.
Coating Resin: For Surfaces and Shine
Coating resin, sometimes called table-top resin, is formulated for thin applications over flat surfaces. It’s much thinner in viscosity than casting resin and cures faster, creating that signature glass-like finish on paintings, wooden surfaces, bar tops, and coasters.
Because coating resin is designed for shallow pours, usually no more than an eighth of an inch per layer, it generates less heat during curing. This allows it to self-level beautifully and create a smooth, glossy surface without extensive sanding. In workshops, it’s the go-to choice for finishing river tables, sealing acrylic pours, or adding a protective dome to mixed media art.
Deep-Pour Resin: For River Tables and Large Projects
Deep-pour epoxy is specifically engineered for thick pours of two inches or more in a single application. Its chemistry includes additives that slow the curing process even further than casting resin, allowing heat to escape from deep layers without causing the resin to crack, warp, or turn amber.
This type has become essential for the popular river table trend, where thick channels of colored resin flow between wood slabs. Workshop instructors often demonstrate deep-pour techniques in advanced classes, showing students how to achieve crystal-clear results in pours that would fail with standard casting resin.
Choosing the right resin type isn’t about one being better than another, it’s about matching the chemistry to your creative vision.
What You Can Create with Epoxy Resin
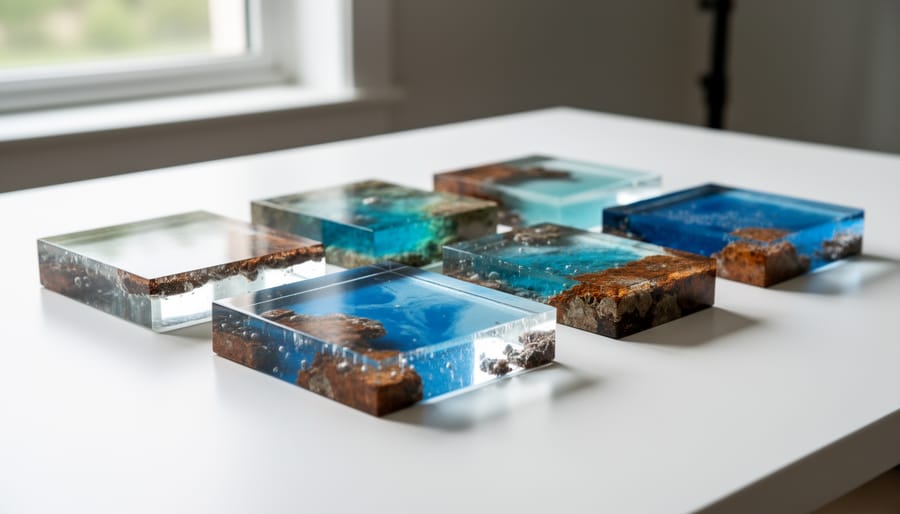
The creative possibilities with epoxy resin span an incredible range, from simple weekend projects to furniture that becomes the centrepiece of a room. Once you understand how the material works, you can shape it into almost anything your imagination offers, which is exactly what makes it such a rewarding medium to explore.
Beginners often start with smaller items like jewellery, keychains, and coasters, where the lower volumes make the mixing process less intimidating and mistakes less costly. These projects teach fundamental skills, measuring accurately, eliminating bubbles, adding colour and inclusions, without requiring expensive moulds or large quantities of resin. One workshop student created a set of ocean-inspired coasters using blue pigments and crushed shells, mastering the basics before moving on to larger pieces.
As confidence grows, crafters typically progress to decorative bowls, serving boards, and framed art pieces that incorporate dried flowers, metallic powders, or layered colour effects. The transition from flat pours to dimensional work introduces new techniques like doming and edge finishing, skills that workshop instructors demonstrate through live projects rather than written instructions alone.
Here’s how projects typically progress by skill level:
- Beginner: Coasters, keychains, small jewellery pieces, paperweights
- Intermediate: Serving boards, trinket trays, decorative bowls, framed resin art
- Advanced: River tables, large countertops, custom furniture inlays, sculptural art pieces
Advanced makers tackle ambitious furniture projects like river tables, where epoxy fills the natural gaps in wood slabs to create flowing, glass-like channels. These pieces demand an understanding of deep-pour resins, heat management during curing, and structural considerations that prevent warping. A workshop instructor recently guided students through a collaborative river table project, breaking down the intimidating process into manageable stages over several sessions.
Epoxy also lends itself to purely artistic applications: abstract paintings with glossy, dimensional finishes; geode-style wall art with crystalline details; and sculptural pieces that play with transparency and light. The medium rewards experimentation because the chemistry remains consistent even as the creative expression varies wildly.
The beauty of epoxy resin work lies in this scalability. You can learn new creative skills at your own pace, starting with projects that fit on a kitchen counter and eventually graduating to statement pieces that transform entire spaces. Each project builds on the last, turning theoretical knowledge about curing and mixing into practical wisdom you carry into the next creation.
Why Epoxy Resin Behaves the Way It Does
Understanding why epoxy resin behaves the way it does takes you from following recipes to truly controlling your results. When you grasp the reasons behind each reaction and quirk, you can anticipate problems, adjust your approach, and troubleshoot with confidence instead of guesswork.
The heat generated during mixing isn’t a malfunction, it’s the exothermic reaction at work. As resin and hardener molecules bond together, they release energy in the form of warmth. Thicker pours trap this heat, which accelerates the reaction further, creating even more warmth. This is why deep pours can sometimes overheat and crack if you use the wrong resin type. Understanding this connection helps you choose the right product and pour depth for your project.
Bubbles appear for several reasons, and each has a different solution. Air gets trapped when you stir vigorously, creating tiny pockets throughout the mixture. Temperature plays a role too, cold resin is thicker and holds bubbles more stubbornly, while gently warmed resin releases them more easily. Some bubbles also form during the curing process as the chemical reaction produces gases. Using a heat gun or torch to pop surface bubbles works because heat temporarily thins the resin, letting trapped air escape.
Humidity matters because moisture interferes with the curing chemistry. Water vapor can react with the hardener before it bonds properly with the resin, creating a cloudy finish, surface tackiness, or incomplete curing. This is why workshop instructors emphasize working in a dry environment, especially during the critical mixing and initial cure stages.
Why does my epoxy stay sticky even after it should have cured?
Sticky, uncured epoxy usually means an incorrect mixing ratio, too much or too little hardener prevents the proper chemical reaction. High humidity or working in cold temperatures can also slow or prevent full curing.
Why did my piece crack after it hardened?
Cracking typically results from excessive heat buildup during curing, especially in thick pours. Using a deep-pour resin formula or pouring in thinner layers prevents heat from concentrating and stressing the material.
Why does timing matter so much with epoxy?
The chemical reaction progresses whether you’re ready or not. Miss your working time window and the resin becomes too thick to spread or self-level properly, trapping imperfections you can’t fix.
Timing is critical because the curing reaction runs on its own schedule, not yours. Once mixed, the molecular bonding process begins immediately and accelerates as it progresses. You have a limited working time before the mixture thickens past the point where it flows smoothly, self-levels, or releases bubbles effectively. Rushing leads to mistakes, but delaying means fighting against increasingly uncooperative material. When you understand this timeframe isn’t arbitrary but chemical, you can plan your workspace, tools, and steps to work comfortably within it.
Learning Epoxy Resin in a Workshop Setting
Understanding epoxy resin chemistry helps, but nothing beats working alongside someone who’s made every mistake already. Workshops compress months of expensive trial-and-error into a few focused sessions. You’ll watch an instructor demonstrate proper mixing technique, see exactly how thick your pour should be, and learn why your project needs twelve hours undisturbed rather than just eight.
The workshop benefits extend beyond technique. Instructors walk you through safety protocols, proper ventilation, skin protection, and disposal methods, that YouTube tutorials often gloss over. When bubbles appear or your resin stays tacky, you get real-time troubleshooting instead of panicked forum searches. You’ll practice measuring ratios with digital scales, learn which brands work best for specific projects, and understand how temperature swings affect cure times.
Structured learning also opens doors to studio art pathways you might not have considered. Maria attended a weekend resin workshop curious about making jewelry for friends. Six months later, she’d launched an Etsy shop specializing in ocean-themed coasters and earrings, crediting the instructor’s business advice and troubleshooting skills as crucial to her confidence. She learned which molds release cleanly, how to photograph resin’s depth, and how to price work that accounts for materials and time.
Workshop environments let you ask “stupid” questions without judgment, test techniques with provided materials before investing in your own supplies, and join a community of crafters who share tips long after class ends.
Understanding how epoxy resin works doesn’t just satisfy curiosity, it fundamentally changes your relationship with the material. Once you grasp the chemistry behind the mixing, the stages of curing, and the reasons behind common challenges, epoxy stops being an unpredictable mystery and becomes a creative medium you can control. You’ll pour with confidence, troubleshoot problems before they happen, and push your projects further because you know what’s possible.
This knowledge doesn’t have to come from years of trial and error. Joining a workshop community connects you with experienced instructors who’ve already solved the problems you’ll encounter and can guide you through proper techniques from day one. You’ll learn the muscle memory of mixing ratios, the visual cues that signal perfect working time, and the troubleshooting skills that separate successful pieces from disappointing experiments. The same principles that build beginner art confidence in other mediums apply here, hands-on practice with expert feedback accelerates your learning dramatically.
Whether you’re dreaming of creating jewelry, coating bar tops, or pouring your first river table, epoxy resin rewards those who understand it. Take that first workshop, ask questions, and discover how quickly this versatile material can become one of your favorite creative tools.