
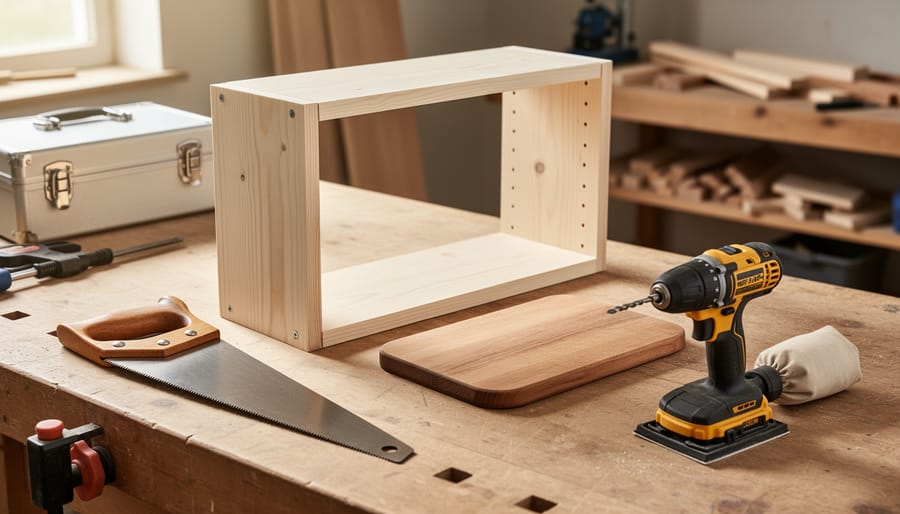
Learning woodworking begins with mastering five fundamental skills: measuring and marking accurately, making straight cuts, creating strong joints, sanding to a smooth finish, and applying a protective coating. With just three essential tools (a saw, drill, and sander), basic safety knowledge, and your first piece of softwood, you can complete a simple project like a wall shelf or cutting board in a single weekend.
You don’t need a workshop full of expensive equipment or years of apprenticeship to start building. What matters most is understanding the core techniques that every woodworker relies on, regardless of skill level. The encouraging news? These foundational methods are remarkably straightforward once someone breaks them down without the intimidating jargon.
Thousands of beginners have discovered that woodworking becomes accessible when you follow a clear learning path that prioritizes hands-on practice over theory. The craft rewards patience and precision, but it forgives mistakes too. Your first cuts won’t be perfect, and that’s exactly how every experienced woodworker started their journey.
This guide walks you through everything you need to know before making your first cut: the specific tools worth investing in (and which ones to skip), how to select wood that’s forgiving for beginners, essential safety practices that protect you without slowing you down, and the core techniques you’ll use in every project. You’ll finish with a complete step-by-step first build that reinforces each skill while creating something genuinely useful for your home. No prior experience required, just curiosity and a willingness to learn through doing.
Essential Tools Every Beginning Woodworker Needs
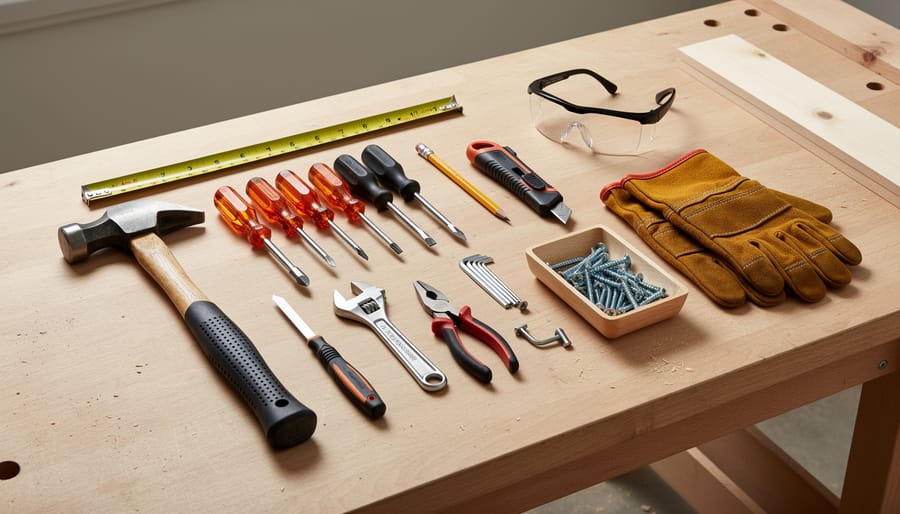
You don’t need a workshop full of expensive equipment to start woodworking. A handful of well-chosen tools will handle every aspect of your first projects, from measuring and cutting to assembly and finishing. The key is building your collection intentionally rather than buying everything at once.
Start with these essential hand tools that form the foundation of any woodworking practice:
- Tape measure (25-foot): Accurate measurements are the difference between pieces that fit and costly mistakes, $15-25
- Combination square: Marks perfect 90-degree and 45-degree angles for cuts and checks if edges are truly square, $20-40
- Hammer (16-ounce): Drives nails, adjusts pieces during assembly, and taps joints together, $15-30
- Chisel set (1/4-inch, 1/2-inch, 3/4-inch): Cleans up joints, removes material in tight spots, and refines edges, $30-60
- Hand saw: Makes controlled cuts without electricity and teaches you to feel how wood responds, $25-50
- Block plane: Smooths rough edges and shaves small amounts off pieces that need adjustment, $30-70
These hand tools teach you fundamental skills that make you a better woodworker even when you move to power tools. You’ll spend around $135-275 for this starter set, and these tools will last decades with basic care.
Once you’re comfortable with hand tools, three power tools dramatically expand what you can build:
- Cordless drill/driver: Drills pilot holes, drives screws, and handles most fastening tasks, $80-150
- Circular saw: Makes straight cuts through boards and sheet materials quickly and accurately, $60-120
- Random orbital sander: Smooths surfaces evenly without leaving swirl marks, preparing wood for finishing, $50-100
This power tool trio costs roughly $190-370 and handles the repetitive, physically demanding work that would exhaust you with hand tools alone. Much like researching different craft programs through a buying guide choosing the right tools requires understanding what each one does and how it fits your immediate needs.
Resist the urge to buy specialized tools before you need them. That dovetail jig or fancy router table can wait until you’ve built enough projects to know exactly what you’re missing. Many beginners spend hundreds on tools they use once, then discover the three tools they actually needed daily.
Your toolkit will grow naturally as your skills develop and your projects become more ambitious. Start simple, master what you have, then add tools that solve specific problems you encounter. This approach keeps costs manageable and ensures every tool you own earns its space in your workshop.
Choosing and Understanding Wood Materials
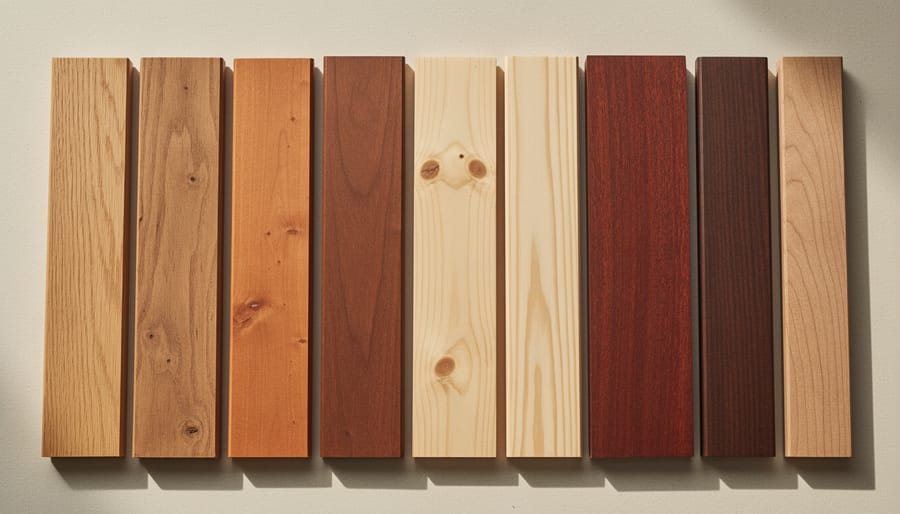
Walking into a lumber yard for the first time can feel overwhelming, but understanding a few basics about wood will help you choose the right material for your projects and set you up for success.
Softwoods vs. Hardwoods: What’s the Difference?
Despite the names, the distinction isn’t about actual hardness. Softwoods come from coniferous trees (evergreens with needles), while hardwoods come from deciduous trees (those that lose their leaves). For beginners, this matters because softwoods are generally easier to cut, shape, and afford.
Pine is your best friend when starting out. It’s inexpensive (around $3-6 per board foot in 2026), widely available, and forgiving to work with. You’ll find it cuts cleanly and accepts screws without splitting if you drill pilot holes. Poplar sits in the middle ground, technically a hardwood but soft enough for beginners, with a straight grain that makes it excellent for painted furniture projects.
Once you’re comfortable with techniques, oak offers beautiful grain patterns and durability. It’s harder on tools and costs more ($8-12 per board foot), but the finished results reward the extra effort.
What to Look For at the Lumber Yard
Check each board before you buy. Sight down the length to spot warping or twisting. Look for knots, small tight ones are fine, but large loose knots can fall out or weaken joints. Run your hand along the surface to feel for moisture; wood should feel dry, not damp or cold.
Common dimensions follow a quirky system. A “1×4″ actually measures 3/4″ thick by 3.5” wide after milling. Knowing this prevents frustrating measurement mistakes in your first projects.
Plywood and Alternatives
Sheet goods like plywood offer stability and come in large sizes perfect for shelves or cabinet backs. Birch plywood provides smooth surfaces for painting, while oak veneer plywood gives you hardwood appearance at lower cost. MDF (medium-density fiberboard) cuts beautifully and stays flat, though it’s heavy and creates more dust.
Furniture-making instructors in the Bush Furniture community consistently advise the same thing: buy a few different species in small quantities and make practice cuts. You’ll learn how pine accepts stain differently than oak, or how poplar’s consistent grain behaves compared to pine’s knots. These hands-on lessons teach you more than any chart ever could.
Safety First: Protecting Yourself in the Workshop

Workshop safety isn’t about being scared of your tools, it’s about respecting them enough to protect yourself so you can keep making things for years to come. The good news is that safe woodworking habits become automatic remarkably fast, especially when you build them into your practice from day one.
Start with personal protective equipment that should be non-negotiable every time you enter your workspace. Safety glasses protect your eyes from flying wood chips and sawdust, choose wraparound styles that seal at the sides. Hearing protection matters more than most beginners realize; prolonged exposure to power tool noise causes cumulative damage. Foam earplugs or over-ear muffs both work well. A dust mask or respirator keeps fine particles out of your lungs, particularly important when sanding or cutting treated lumber. Wear close-fitting clothing without dangling sleeves or drawstrings that could catch in machinery, and tie back long hair.
Workshop ventilation deserves serious attention even in a garage setup. Open windows or doors when working, and consider a shop fan to move dust-laden air outside. Sawdust settles everywhere and becomes a respiratory hazard over time.
Tool-specific safety rules protect you from the unique risks each tool presents. Before making any cut, check that your workpiece is secured, your blade is sharp and properly installed, and your hands will stay clear of the cutting path. Mark your cut line clearly and visualize the entire motion before you start. Many experienced makers in the Bush Furniture community share near-miss stories that reinforce these lessons, one member recalls almost cutting into a loose clamp because he rushed his mental checklist, a split-second catch that made him forever meticulous about securing materials.
Develop a pre-cut ritual: secure the wood, check the tool settings, position your body safely, take a breath, then proceed. This becomes muscle memory faster than you’d expect, transforming safety from a conscious effort into an automatic foundation that lets you focus on the craft itself. Quality beginner training emphasizes building these protective habits alongside technical skills, ensuring they develop together from the start.
Fundamental Woodworking Techniques to Master
Mastering a few core techniques transforms woodworking from intimidating to achievable. You don’t need decades of experience to build functional furniture, just consistent practice with the fundamentals that every project demands.
Start with accurate measuring and marking, because everything else depends on it. Use your tape measure to mark dimensions twice before cutting, and always measure from the same reference edge to avoid cumulative errors. A carpenter’s square ensures your corner marks form true 90-degree angles, critical for furniture that sits level and looks professional. Mark cutting lines with a sharp pencil rather than a dull one; precision at this stage saves you from wonky cuts later. Many beginners rush this step, but the makers in our community who build the cleanest projects spend extra time here getting measurements exact.
Making straight cuts requires control, not strength. Whether you’re using a hand saw or circular saw, let the tool do the work while you focus on following your marked line. For hand saws, use long, smooth strokes rather than short, aggressive ones. With power saws, secure your workpiece firmly and guide the blade steadily along the cut line without forcing it. Practice on scrap pine until your cuts land within an eighth-inch of your mark consistently. That accuracy matters when assembling furniture components that need to fit together cleanly.
Drilling pilot holes prevents wood from splitting when you drive screws, especially near board edges. Choose a drill bit slightly narrower than your screw shaft, and drill straight down perpendicular to the surface. This small step makes assembly smoother and your joints stronger.
Basic joinery connects your pieces into furniture. Butt joints, where one board’s end meets another board’s face, work well for beginner projects when reinforced with screws or nails. Pocket screws create angled connections that hide fasteners while providing solid strength, perfect for frames and simple tables. You’ll refine joinery skills over time, but these two methods handle most starter furniture projects.
Sanding progression means starting with coarser grit paper to remove rough spots and tool marks, then moving to finer grits for smoothness. Work through 80-grit, 120-grit, and 180-grit in sequence, always sanding with the wood grain rather than across it. Each grit removes the scratches from the previous one. Skip grits, and you’ll never achieve that professional-looking surface.
Finishing protects your work and brings out the wood’s beauty. A simple polyurethane or furniture oil applied with a brush or cloth seals the surface against moisture and wear. Apply thin coats, let each dry completely, and lightly sand between coats with 220-grit paper for a smooth final result.
Practice these techniques on scrap lumber before your real project. The confidence you build making mistakes on throwaway pieces pays off when you’re working with wood that matters.
Your First Woodworking Project: Step-by-Step
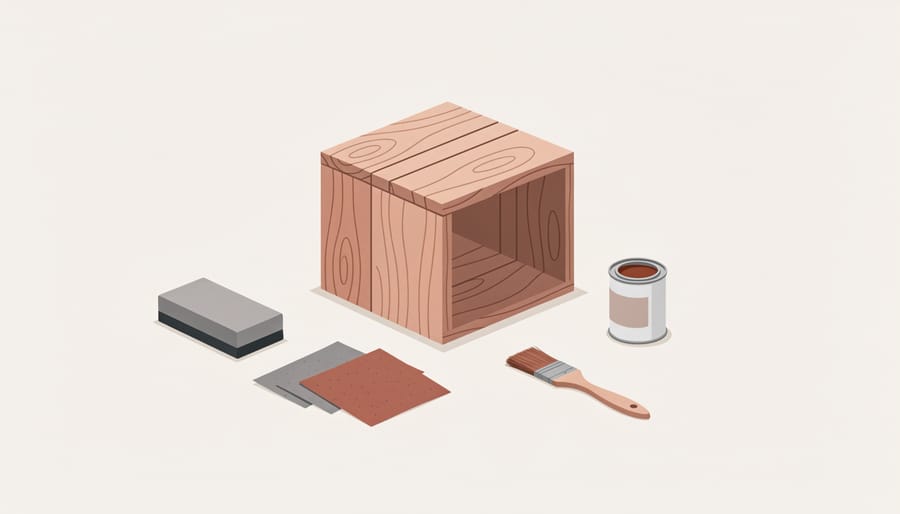
Building your first piece is where woodworking basics for beginners truly come alive. A simple wall shelf transforms measuring, cutting, and assembly skills into something useful and visible in your home. Here’s the complete process broken down into manageable steps that build your confidence building skills one action at a time.
For this project, you’ll create a 24-inch shelf using a single piece of 1×8 pine board for the shelf surface and two 1×6 pine pieces for the brackets. The total material cost runs about $15-20 in 2026, and you’ll use tools already covered: measuring tape, square, saw, drill, sandpaper, and finish.
- Cut your lumber to length. Measure and mark the shelf board at 24 inches and each bracket at 7 inches. Use your square to draw a straight cut line across the full width. Make your cuts slowly and check that each piece is square before moving forward. Verify by placing your square against the cut end, any gap means you need to trim it straighter.
- Mark and cut the bracket angles. On each 7-inch bracket piece, measure 5 inches along one long edge and draw a diagonal line to the opposite corner. This creates the angled support. Cut along this line and sand the edges smooth. The two brackets should mirror each other.
- Drill pilot holes for all screws. On each bracket’s straight edge, mark two points 1.5 inches from each end. Drill pilot holes straight through. On the shelf bottom, measure 2 inches from each end and mark where brackets will attach. Drill pilot holes here too, angling slightly if using pocket screws.
- Assemble the brackets to the shelf. Position each bracket perpendicular to the shelf underside at your marked locations. Drive 1.5-inch wood screws through the pilot holes, checking that brackets remain square as you tighten. The shelf should sit flat when you flip it over.
- Sand everything smooth. Start with 120-grit sandpaper on all visible surfaces and edges. Progress to 220-grit for a finish-ready surface. Wipe away all dust with a slightly damp cloth and let dry completely.
- Apply your finish. Brush on a thin coat of polyurethane or wood oil, working with the grain. Let dry according to product directions (usually 4-6 hours), then lightly sand with 220-grit and apply a second coat. This protects the wood and brings out its natural color.
When you mount your completed shelf and place something on it, you’ve crossed a threshold. You’ve taken raw lumber and transformed it through your own hands into functional furniture. That feeling never gets old.
Many Bush Furniture Worldwide course members post photos of their first shelf projects in the community gallery. You’ll see variations, some painted, some left natural, each reflecting the maker’s choices and growing skills. These shared accomplishments create momentum. Your first project proves you can do this, and that proof carries you into the next challenge with less hesitation and more curiosity about what you’ll build next.
How to Know You’re Ready for the Next Level
You’re ready to advance when your completed projects consistently show signs of developing skill. If you’re making square cuts that need minimal sanding to correct, handling your drill and saw with confident control rather than hesitation, and noticing how different woods react to your tools before problems occur, you’ve built a solid foundation. Your first few projects likely have visible gaps in joints or uneven surfaces, that’s normal. But when your recent work shows tighter fits and smoother finishes, you’re progressing.
Common beginner struggles reveal exactly what needs more practice. If your measurements are accurate but cuts consistently veer off the line, spend dedicated time on saw technique with scrap lumber. When joints don’t fit despite careful work, your measuring and marking process needs refinement. Splits near screw holes mean you’re skipping pilot holes or drilling too close to edges. These aren’t failures, they’re your curriculum showing you where to focus next.
How long until I can make real furniture?
After completing three to five small projects with consistent results, you’re ready to attempt simpler furniture pieces like a basic bookshelf or side table. Most beginners reach this point within two to four months of regular practice.
What project should I try next?
Build something slightly more complex than your last success, add one new skill each time. If you’ve mastered a basic shelf, try a small table that introduces leg joinery.
Do I need a full workshop before advancing?
No. Many intermediate projects require only the starter tools you already have, plus perhaps one specialized tool as your skills demand it.
Where can I get help when stuck?
Bush Furniture Worldwide’s collaborative workshops pair beginners with experienced makers who provide guidance on challenging techniques and troubleshooting.
For next steps explore intermediate techniques like mortise-and-tenon joinery, working with hardwoods, or using a table saw. Consider projects that combine multiple skills, a simple nightstand requires precise measuring, various joint types, and finishing. Bush Furniture’s community workshops offer the perfect environment for attempting more complex builds with experienced makers nearby to answer questions and share techniques they’ve refined through years of furniture making. You’ll find that working alongside others accelerates your learning far beyond what solo practice provides.